Can online guitar lessons correct bad technique?
Learn how online guitar lessons can identify and correct bad technique through camera angles, live feedback, focused exercises and practice recordings.
August 20265 min read
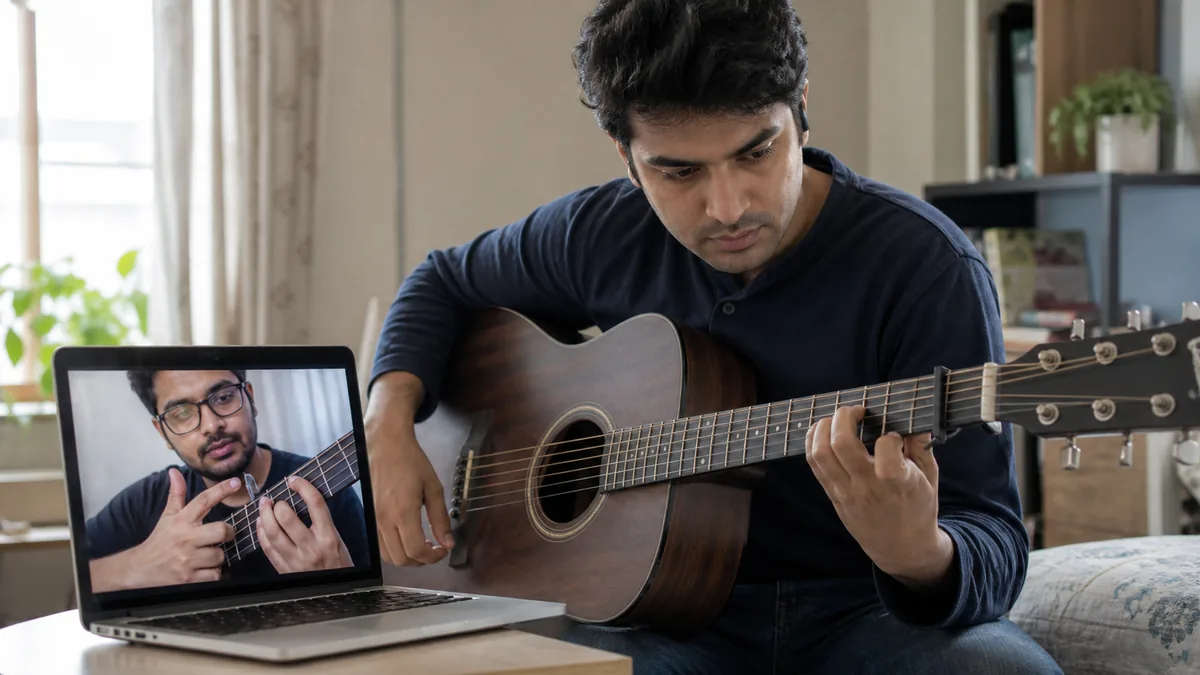
A buzzing chord, tense wrist or uneven strumming can continue for months when you practise without specific feedback. Many learners assume that a teacher must stand beside them and physically move their hands to fix these problems.
So, can online guitar lessons correct bad technique? Yes, many common playing problems can be identified and improved online when the teacher can see both hands, hear the instrument clearly and ask the student to repeat a small movement. The quality of the setup and the teaching process matter more than simply being on a video call.
What does bad guitar technique mean?
Bad technique is not one rigid list of forbidden hand positions. Players use different approaches for different sounds, styles and bodies. A technique becomes a problem when it creates unnecessary tension, unreliable sound, limited control or discomfort that prevents consistent playing.
- Pressing the strings much harder than necessary.
- Collapsing a finger so it mutes a nearby string.
- Holding the wrist at an uncomfortable angle.
- Lifting every finger far away during chord changes.
- Stopping the strumming hand whenever the chord changes.
- Using a pick grip that becomes unstable at normal playing speed.
- Increasing tempo before the movement is accurate.
- Repeating through sharp pain, numbness or unusual discomfort.
A teacher should first understand the sound you want and the movement that is causing difficulty. The aim is to make playing more controlled and comfortable, not to make every student's hands look identical.
Review common beginner guitar mistakes
How a teacher diagnoses technique online
Live online correction works through observation, listening and testing. The teacher watches a short example, isolates the smallest problem and asks the student to try one change. The result can then be compared immediately.
- Play the chord, scale, riff or rhythm at a comfortable speed.
- Repeat it from a camera angle that shows the relevant hand.
- Describe where the movement feels tense or uncertain.
- Test one correction instead of changing several things together.
- Play again and compare sound, comfort and consistency.
- Leave the lesson with a precise way to practise the correction.
This process is more useful than receiving a general instruction such as 'relax your hand.' A clear correction explains what to release, where to place the finger and how to check whether the new movement is working.
Camera angle is part of the lesson
The main camera should show the guitar neck, fretting hand, picking hand and upper-body posture. For a detailed issue, the teacher may ask you to move the device closer or briefly show the hand from another side.
- Place the device on a stable stand.
- Keep the fretting fingers visible rather than hiding them behind the neck.
- Use enough light to see finger joints and string contact.
- Make sure the picking hand remains inside the frame.
- Avoid a wide-angle position that makes the hands too small to assess.
- Check the video preview before the lesson begins.
A second device is not required for most beginners. A teacher can often diagnose one hand at a time by asking for a temporary close view.
Use the online guitar class equipment checklist
Audio helps separate technique from setup problems
The sound can reveal muted notes, buzzing, inconsistent pick attack and changes in rhythm. However, a poor internet connection or aggressive noise suppression can hide details. Play one note or chord at a time when the sound becomes unclear.
Not every bad sound comes from the hands. Old strings, poor tuning, very high string action or an unstable cable can make normal playing feel difficult. A useful online teacher should consider the instrument before assuming the student simply needs to press harder.
Problems that are often visible online
Many beginner issues can be seen clearly when the teacher requests the right view. These include posture, finger placement, chord transitions, pick movement and visible tension.
- A thumb position that restricts a particular chord.
- Fingers landing too far from the fret.
- Unnecessary pressure in the fretting hand.
- A shoulder lifting during difficult changes.
- A pick moving too deeply through the strings.
- Large finger movements that slow transitions.
- A strumming motion that stops between beats.
- Hands moving out of sync during a riff.
Problems that need careful listening
Rhythm and tone problems may be easier to hear than to see. The teacher can ask you to count aloud, mute the strings, slow the part down or play along with a simple pulse.
- Uneven spacing between strums.
- Rushing before a difficult chord.
- Missing the beat after a mistake.
- Notes sounding at different volumes.
- Strings ringing when they should be muted.
- A bend or slide failing to reach the intended pitch.
The correction should produce a practice test, such as four steady bars at a comfortable tempo or five clean chord changes without excess pressure.
Recordings make online feedback stronger
A short recording shows what happens when the teacher is not guiding every attempt. It also lets you compare the old movement with the correction over time.
- Record from the same useful angle each time.
- Keep the clip short and focused on one problem.
- Include the tempo if you are practising with a metronome.
- Do not submit only the best attempt; include the issue you want help with.
- Write one specific question with the recording.
You do not need to post the recording publicly. Follow the teacher's agreed method for sharing lesson material and avoid turning practice into a performance for social media.
One correction at a time
Trying to fix posture, chord pressure, timing and song memory in one attempt creates overload. Choose the correction that affects the most other problems.
For example, if a chord buzzes because two fingers land far from their frets, first improve placement. Do not add faster strumming until the notes can sound clearly at a slow pace.
Use a correction loop between lessons
- Notice: identify the exact sound or movement that is unreliable.
- Reduce: isolate one chord change, beat or short phrase.
- Adjust: apply the teacher's single correction.
- Repeat: practise slowly enough to keep the adjustment.
- Test: play the part in its musical context.
- Record: capture one example for the next review.
A correction is not complete because it worked once during class. It needs controlled repetition until the improved movement appears more naturally in the song.
One-to-one or group lessons for technique correction?
A one-to-one class can spend more time on one student's camera angle, instrument and movement. A group can still support technique when each learner receives enough playing time and specific feedback.
Ask how the teacher handles individual corrections in the chosen format. The important factor is not the label on the class; it is whether the teacher can observe you closely and check the adjustment.
Compare one-to-one and group online guitar classes
How often should technique be reviewed?
Beginners benefit from feedback before an inefficient movement becomes their default. A weekly lesson is a practical starting point for many learners because it leaves time to practise without creating a long gap between corrections.
The right frequency depends on the difficulty of the issue, available practice time and whether the learner can recognise correct repetitions independently.
Learn how often beginners should take online guitar lessons
When online correction has limits
Video lessons cannot provide a complete medical assessment, and a teacher should not diagnose an injury. Sharp pain, numbness, swelling, weakness or persistent symptoms should not be treated as a normal technique problem. Stop forcing the movement and seek appropriate professional advice.
A damaged or badly adjusted instrument may also need hands-on attention from a qualified repair technician. Online guidance can help identify a likely setup concern, but it cannot physically inspect every part of the guitar.
Questions to ask in a demo lesson
- Can the teacher clearly see both of my hands?
- Does the teacher ask me to play before giving advice?
- Is the correction specific enough to test immediately?
- Does the teacher consider tuning and guitar setup?
- Will I receive a focused practice task after class?
- Can I use a short recording to show what happens between lessons?
- Does the class format allow enough individual feedback?
What improvement should look like
Technique improvement is often gradual. Look for cleaner sound at a slow tempo, less effort, smaller movements and better consistency across several attempts. Speed should grow after control, not replace it.
If the same correction returns every week, ask whether the practice method is clear enough. The issue may need a smaller exercise, a different camera angle or a slower test.
Live online feedback can make practice more precise
Online guitar lessons can correct many common technique problems when the teacher has a clear view, useful audio and a structured feedback process. The student also needs a small practice test that carries the correction into the days between classes.
Jam And Play offers live online guitar lessons with personalised guidance. Book a free demo to test your camera setup, play a short example and receive focused feedback on the technique affecting your progress.
Want a clearer first step?
Meet a mentor, talk about what you want to play and get a learning plan built around your schedule.